
Installing fender flares on your truck or SUV is one of the most popular upgrades among off-road enthusiasts and everyday drivers alike. Whether you’re looking to protect your vehicle from debris, stay compliant with tire coverage regulations, or simply enhance its look, fender flares are a smart choice.
Many vehicle owners in Canada, especially those used to working on their own vehicles, choose to install fender flares themselves. But as with any DIY automotive project, there are common mistakes that can lead to poor results, unnecessary damage, or even safety issues. Through our experience serving customers across Canada since 2008, we’ve seen what works—and what doesn’t.
This guide shares the top 5 most common mistakes people make when installing fender flares at home, along with practical tips to help you avoid them. Whether you're working on a RAM 1500, Ford F-150, or Toyota Tacoma, these insights are based on real installations, customer feedback, and expert guidance from our Maple Ridge shop.
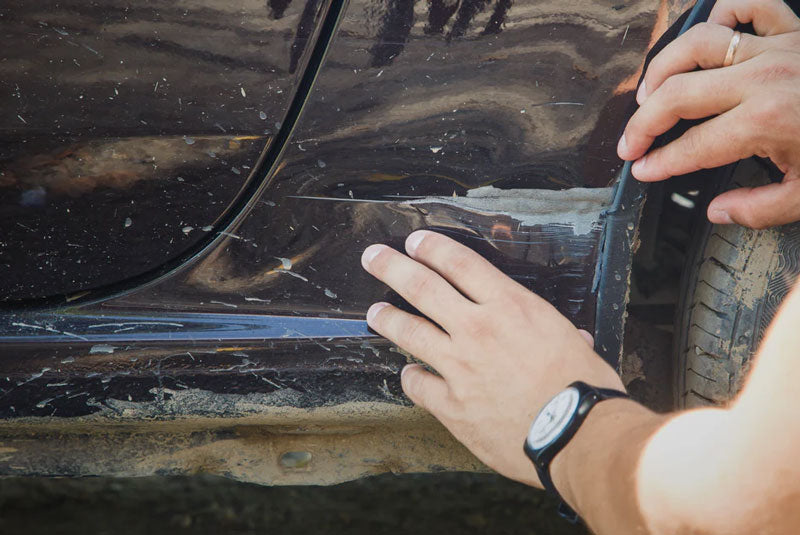
Skipping Surface Preparation
Installing fender flares on a dirty or poorly prepared surface is the number one mistake we see.
Why it matters:
Fender flares must bond closely to the vehicle body. Even when they’re bolted on, they still need to sit flush to prevent gaps where moisture and debris can build up. In Canadian climates—especially through wet winters and salted roads—any trapped debris can cause corrosion and paint damage.
What to do instead:
-
Wash the area thoroughly with soap and water.
-
Use isopropyl alcohol or a degreaser to remove any residue or wax.
-
Make sure the surface is completely dry before applying adhesive or fitting hardware.
-
If your flares use weather stripping or adhesive tape, let the vehicle sit indoors for 12–24 hours after install to allow bonding.
This preparation step only takes 15–20 minutes but dramatically extends the life and effectiveness of your installation.
Not Test-Fitting Before Drilling or Mounting
One of the most frustrating mistakes is drilling into your fenders—only to realize your flare is misaligned.
Why it matters:
Incorrect alignment means your flares may rub against the tires, leave unsightly gaps, or fail to cover the wheels as intended. Worse, once you've drilled holes in your fender, it's difficult or impossible to undo the damage cleanly.
What to do instead:
-
Always test-fit the fender flares on all sides of the vehicle before drilling.
-
Use painter’s tape to mark alignment lines.
-
Step back and check the visual symmetry from different angles.
-
If using existing factory holes, make sure all clips or screws line up precisely.
-
If in doubt, have a second person assist. Two sets of eyes help catch alignment errors early.
Taking this precaution can save you from costly bodywork later on.
Using Inappropriate Tools or Hardware
Trying to install flares with the wrong tools is more than just frustrating—it can damage the product or your vehicle.
Why it matters:
Overtightening screws with a power drill, using the wrong screw size, or skipping proper tools like trim removal kits can lead to cracked flares, stripped screws, or even torn paint.
What to do instead:
-
Use a torque-limited drill or manual screwdriver to tighten screws gradually.
-
Double-check that you’re using manufacturer-supplied hardware or quality stainless steel alternatives.
-
Have trim panel tools, a socket set, and plastic rivet tools ready depending on your vehicle model.
-
Never “force” a flare into place—it’s a sign something’s off with alignment or compatibility.
Most reliable brands like Maple4x4 include proper mounting kits. Using them ensures safety and durability.
Choosing the Wrong Fender Flare Type for Your Vehicle
Not all fender flares are created equal. One of the biggest sources of installation trouble is buying universal or incompatible flares.
Why it matters:
Your vehicle’s body style, trim package, lift height, and wheel size all influence how a fender flare fits. An ill-fitting flare may not provide full coverage, could rub against the tires, or look mismatched.
What to do instead:
-
Shop based on your vehicle’s exact year, make, and model.
-
Look for products marked “custom fit” rather than “universal.”
-
Consider other installed accessories like mud flaps, side steps, or lift kits.
-
If you’re unsure about fitment, contact an expert. At Maple4x4, we help customers across Vancouver, Abbotsford, and all of Canada find the right part for their setup.
A good fit is not just about appearance—it’s about functionality, legal compliance, and long-term performance.
Neglecting After-Installation Maintenance
Many people treat fender flare installation as a “one and done” job. But like any exterior upgrade, they require ongoing care.
Why it matters:
Screws can loosen over time, debris can build up behind the flares, and weather exposure can wear down paint or plastic. Ignoring maintenance shortens the life of the product and can even damage your vehicle.
What to do instead:
-
Check all mounting hardware after the first 100–200 km of driving.
-
Clean behind the flares seasonally, especially after off-road trips or winter months.
-
Watch for rubbing, rattling, or water ingress — early signs something’s loose or misaligned.
-
If your flares are paintable, consider a clear coat or protective wrap for added UV protection.
Treating fender flares as part of your regular vehicle care routine ensures they last for years and continue to do their job well.
Summary: Make the Most of Your Installation
To recap, here are the five key mistakes to avoid:
-
Installing on a dirty or unprepared surface
-
Skipping a test-fit before drilling or mounting
-
Using incorrect tools or fasteners
-
Choosing the wrong flare for your vehicle
-
Ignoring long-term care and inspections
Avoiding these issues means you’ll not only save time and money, but also get better function, durability, and appearance from your upgrade.
Real Expertise, Real Support
At Maple4x4, we’ve helped thousands of Canadian drivers choose and install the right fender flares since 2008. We know what works in cold weather, in muddy off-road conditions, and with every major truck brand on the road. This content isn’t generic advice, it’s built from real customer questions, real installs, and a decade of experience in the field.
If you're unsure what flare to choose or how to install it, our Vancouver-based support team is here to help. Whether you're in Maple Ridge, Chilliwack, Ontario, or beyond — we’ve got your back.
📩 Have questions? Email us anytime at info@maple4x4.ca
📞 Call: (604) 729-3246